In the weeks before my first book is published I wanted to share the process with you step by step. Both for posterity and in case you’re planning to write a book in the future. Part 1 was decision making and writing and Part 2 focused on traditional vs self publishing, the editing process and my team and in Part 3 today I’ll share about designing the book, the overall strategy and hitting publish on Amazon.
Along the process of writing my new book, getting it edited and making a lot of decisions, I tried not to worry too much about the details of getting it online. Because I know myself – it’s easy to get caught up in the tiny little things that need to be done at the end.
Writing had to come first.
But now that my book is uploaded, finalized, approved and available for pre-order with a release date of March 29th, I wanted to share those little details with you, in part to demystify the process and also to show that it’s not all that difficult.
Once the book is “final” it went off to my designer to make it all pretty. Now, while the Kindle version is incredibly boring without the graphics, theme colors, or style, I am really happy that we went through the trouble.
Each chapter includes a little icon, headers, occasionally a call out, and then the Systems Challenges. Here’s how that looks:
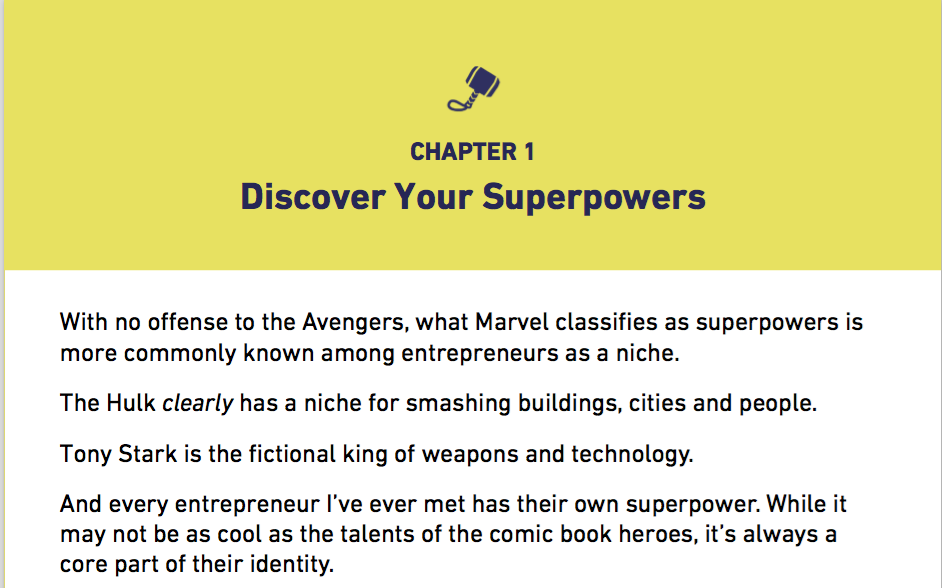
As I’ll be publishing book #2 in this series soon, the time we put into the design mockup was valuable for creating the template for the next volume.
To match the book design, we also created the corresponding bonus worksheets:
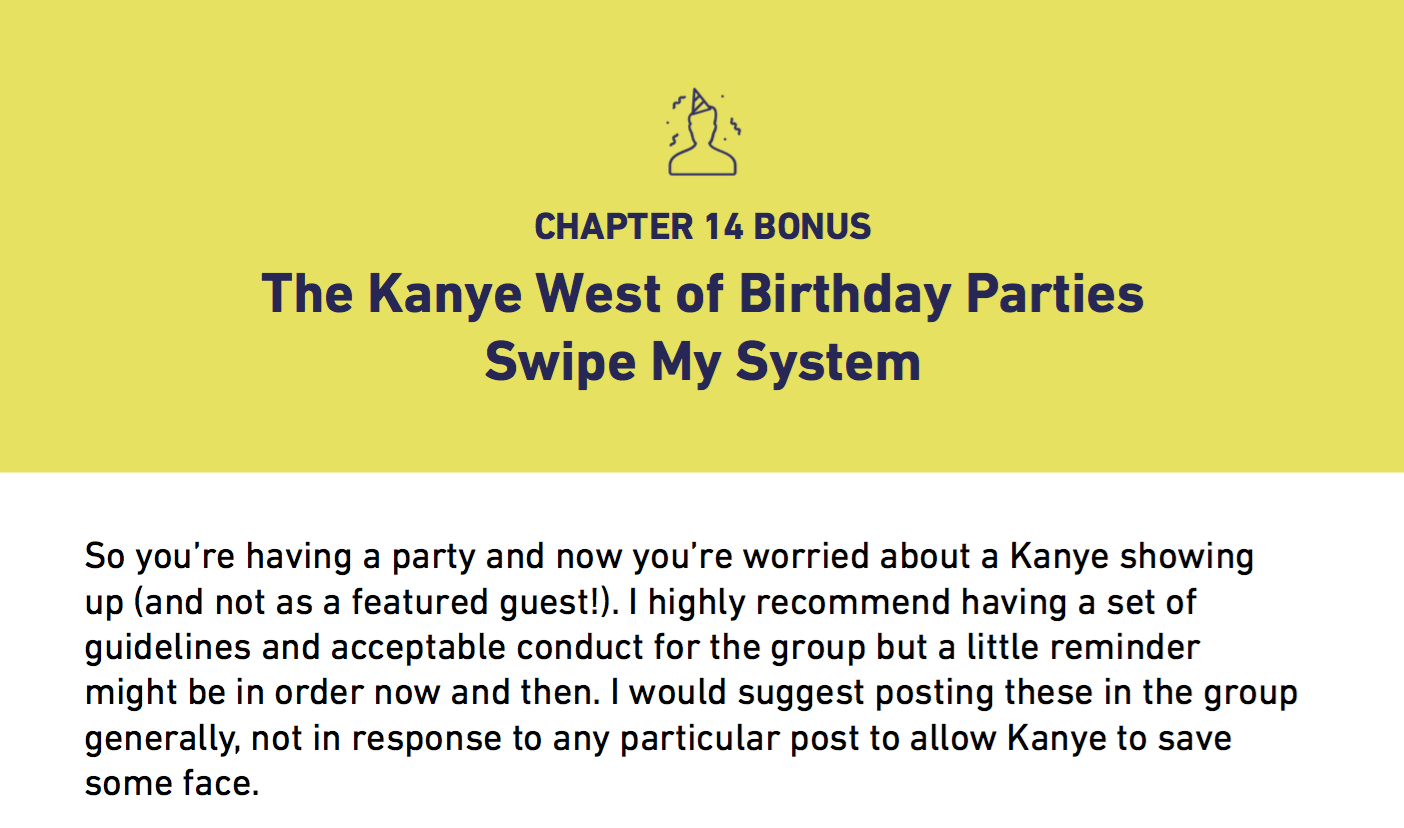
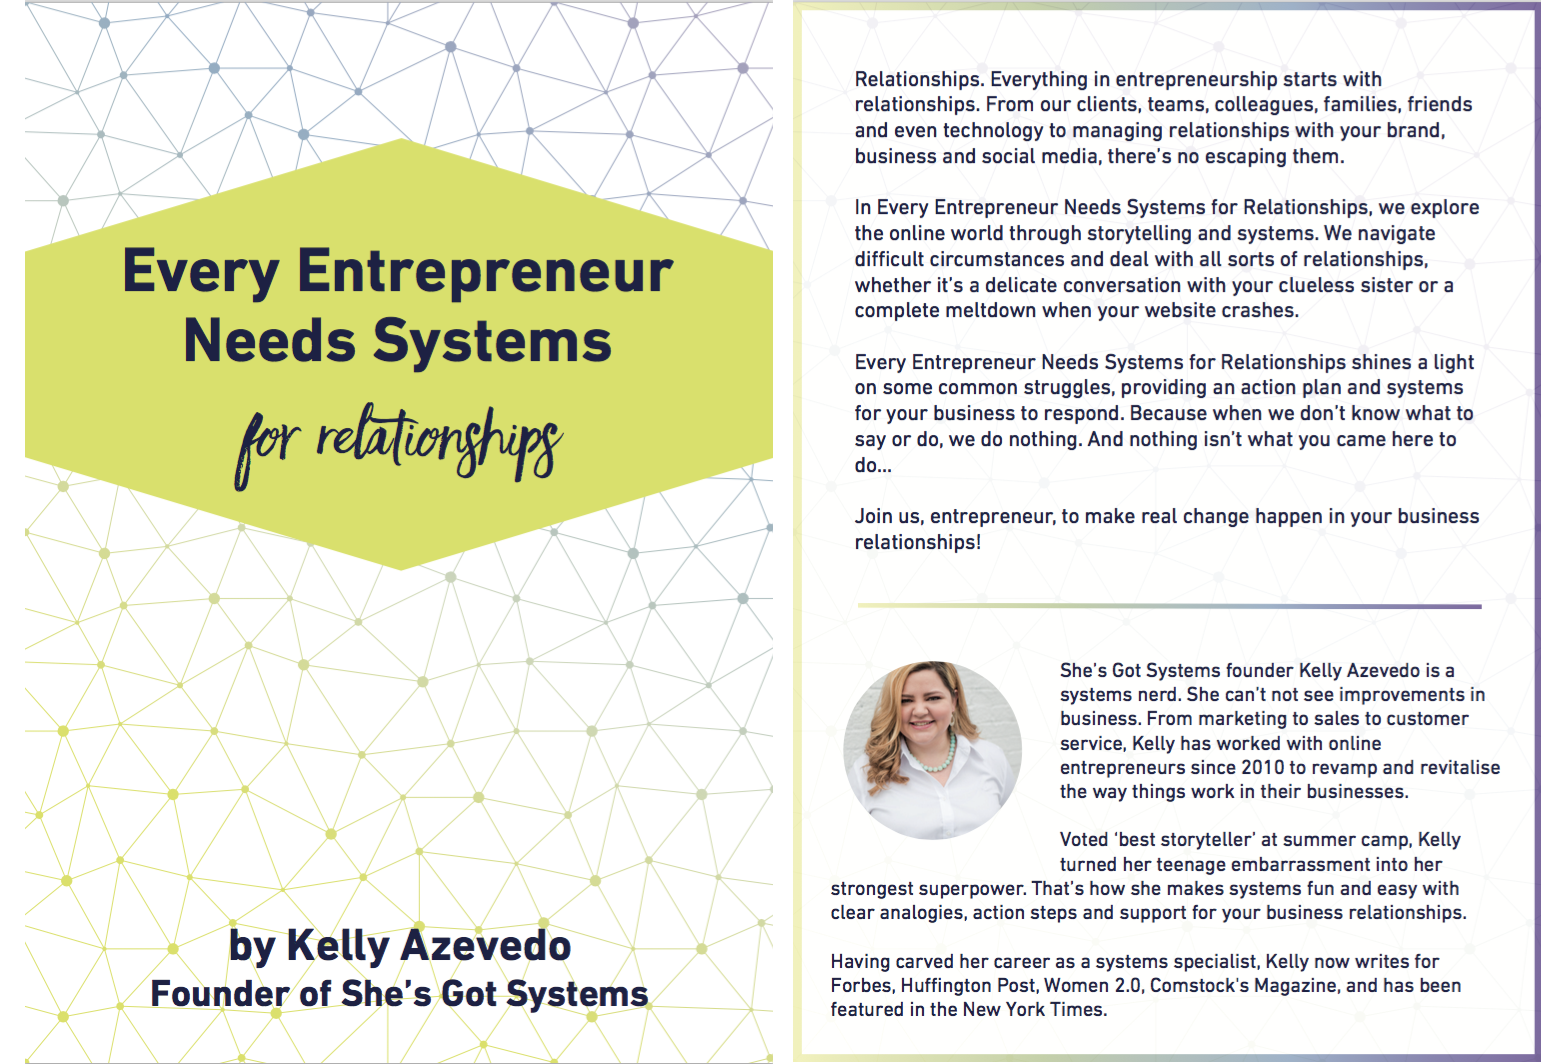
Of all the things I wrote, the back cover had to be the hardest! Writing a summary and bio seemed to stump me forever so I did a SFD (shitty first draft) and my amazing editor Kris turned it into something beautiful.
Our designer Rachel mocked up the cover and back cover:
And Kindle gave the following directions for formatting:
- TIFF (.tif/.tiff) or JPEG (.jpeg/.jpg) format
- At least 1000 pixels on the longest side, with an ideal height/width ratio of 1.6. 2500 pixels on the longest side is preferred.
We used the book cover in several ways throughout the website and marketing so having it in multiple formats was very helpful.
Before you take your final version and upload it to Kindle, you need to consider 2 important areas.
Copyright
If you’d like to copyright your work in the United States you can find all the information at https://eco.copyright.gov/. For a literary claim on a single author work, the filing fee is $35 and can be paid via credit card or bank routing. I will warn you that the process is repetitive and you’ll have to enter the same information on multiple pages:
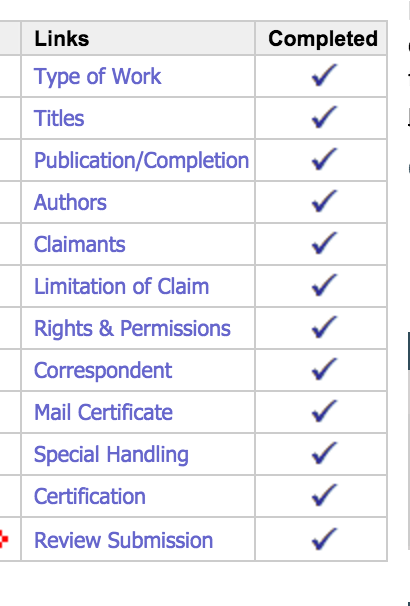
And the site is not very intuitive (i.e. it’s maintained by the government) even with simple things like the “Continue” button at the top of the page instead of in the logical place at the bottom.
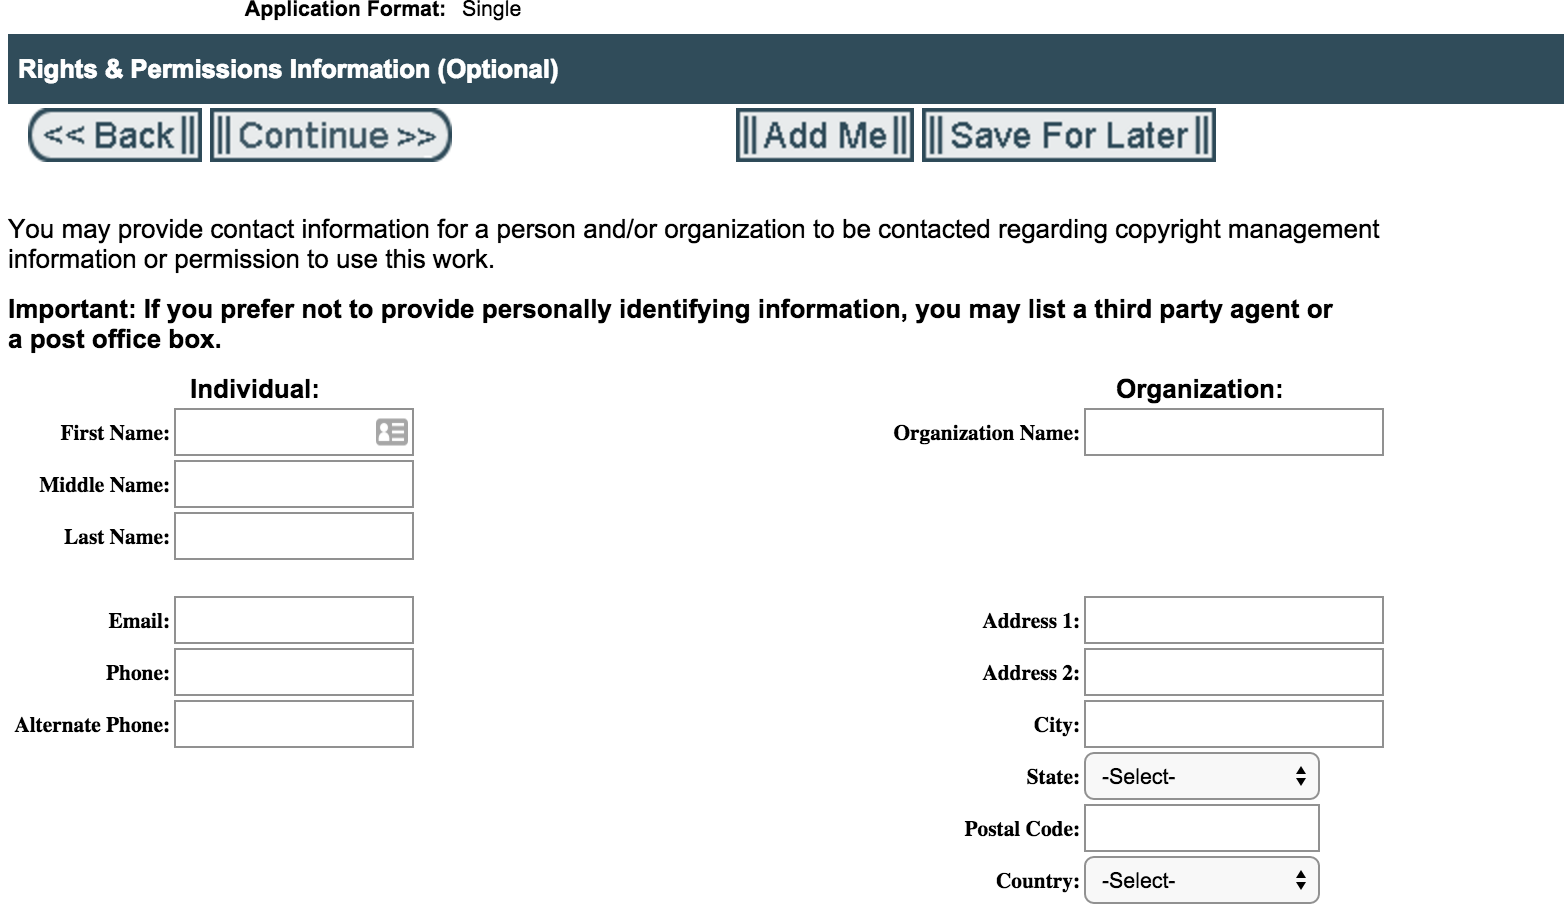
Once you’ve paid the filing fee, you’ll be prompted to upload the work so be sure you have the final version of your book ready to go.
ISBN
An unique International Standard Book Number (ISBN) is needed for each work and you can purchase and register this number at www.isbn.org. In short, the ISBN is a 13-digit number that will identify your book nationally and internationally, and each work you create should have its own number.
Since I am in the process of editing book #2 already, I purchased the larger pack of ISBNs since buying them one at a time is more expensive ($125 per title vs $29.50 per title).
Now it’s time to go to Kindle. This will really focus on the digital process, if you want to make your book available for print, then check out Create Space.
For Kindle you’ll want to create an account at Kindle Direct Publishing: https://kdp.amazon.com/ and yes, you can use your existing Amazon account. My only advice here would be that if you’re going to have your team support this process, go ahead and create a new login. Otherwise someone will have access to your Amazon account and thus purchases, account history and more.
Inside Kindle, it’s pretty simple but you’ll start by verifying your information for banking (to deposit payments), individual or business information (for taxes), and contact information.
Then you’ll be redirected to “My bookshelf” where you can begin to upload your work. They make it pretty simple and allow you to save your work as you go. You’ll want the ISBN, work to upload, cover, description, and will be able to choose the categories, release date and many more options.
When you upload your document, Kindle helpfully identifies potential typos, which is only valuable if you don’t make up words like I do:

This one made me laugh:
I told you it wasn’t a real word!
Luckily, you can choose to ignore typos and it won’t impact your publication.
One important note, if you want to sell your book throughout Europe, is that VAT is included in EU marketplaces, saving a bit of a headache there.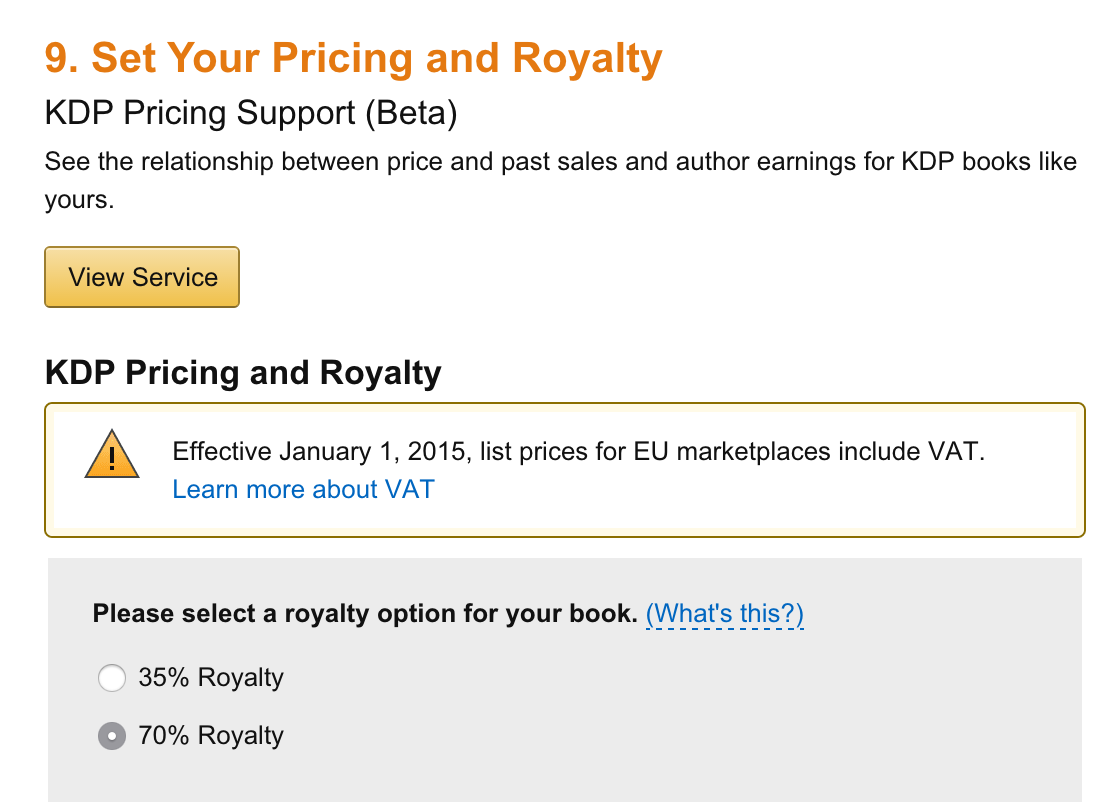
Once you’ve checked all the boxes and made all your decisions, you’ll get this kind of notice:
So when you choose your publication date, be sure that you’ve given yourself (and Amazon) enough time to get the book approved and available for purchase. Don’t wait until the last minute.
Finally, when all that hooplah is done, you’ll be able to login to your bookshelf to see your book, price, status, and everything you need to make changes.

Want to see how it all looks in Amazon (or pre-order….)? See the book pre-order here until March 29th.
There’s a lot to remember and my team has put together my own book checklist for our publication system and I’m giving it to you in today’s swipe file.
 How to Publish a Book – Part 2
 My Book Publishing Journey – Part 1
 Sharing my Super Simple Secret Packing List